Skeletal Trailer Kingpin Area Inspection for Container Fleets
Skeletal Trailer Kingpin Area Inspection for Container Fleets
Skeletal trailer kingpin inspection helps container fleet maintenance teams decide whether a trailer, load plan, and dispatch process are ready before the vehicle leaves the yard. The practical answer is simple: check the cargo first, then match the trailer structure, route limits, driver routine, and maintenance record to that cargo. A good skeletal trailer kingpin inspection process reduces confusion, prevents avoidable rework, and gives the fleet a clear record for the next similar job.
This guide is written for buyers, dispatchers, workshop teams, and fleet managers working with container transport between ports, depots, and highway routes. It focuses on field decisions that can be checked without turning the article into a sales sheet. The goal is a skeletal trailer kingpin inspection method that is specific enough to use, but simple enough to repeat every time.
Table of Contents
Start with the load and operating route
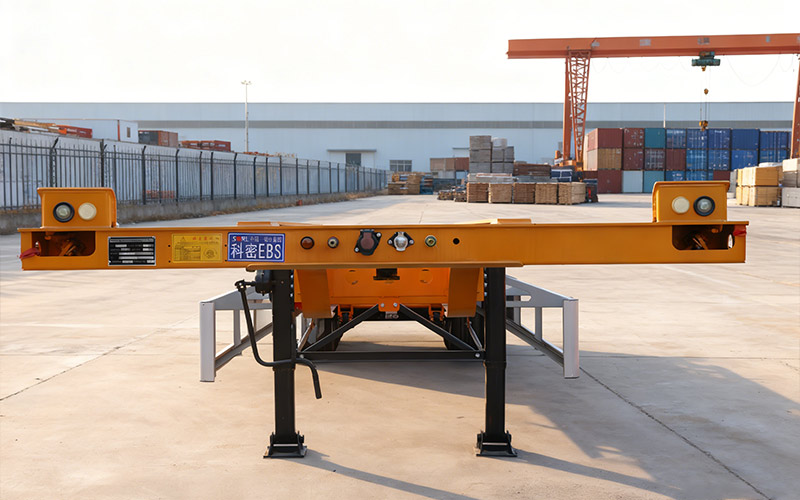
The first step in skeletal trailer kingpin inspection is to describe the load honestly. Record the cargo shape, contact points, center of gravity, loading equipment, expected road condition, and unloading site. A trailer that looks suitable in the yard may become the wrong choice if the route includes soft ground, tight turns, steep ramps, low clearance, or long waiting time before unloading.
For container transport between ports, depots, and highway routes, the route review should include turning space, bridge or road limits where applicable, and the condition of the final unloading area. If the job involves mixed permits, port entry, or cross-border paperwork, keep the document review close to the dispatch plan. The container chassis inspection checklist can support that check without adding unnecessary paperwork.
Match the trailer specification to the job
A reliable skeletal trailer kingpin inspection review compares the skeletal semi trailer specification with real work conditions. Look beyond the headline payload. Check deck height or tank layout, suspension type, axle spread, coupling height, loading angle, sealing points, side protection, lighting, and tie-down or discharge hardware. These details decide whether the trailer is efficient in daily use, not just whether it can carry the load once.
When several trailer configurations look possible, compare them by risk and operating effort. Ask which option gives the driver better visibility, simpler loading, safer access for inspection, and easier cleaning or maintenance. Where axle loading matters, use the trailer axle configuration guide as a practical reference before finalizing the setup.
Use a short inspection sequence
The inspection sequence for skeletal trailer kingpin inspection should be short enough to complete under normal dispatch pressure. Start with the coupling, landing gear, tires, brakes, suspension, lights, air or hydraulic lines, and visible frame areas. Then inspect the parts that are unique to the trailer body: ramps, valves, hatches, curtains, side boards, discharge pipes, tailgate locks, or container locks.
Do not rely on memory when the fleet runs different trailer types. A one-page checklist is better than a long manual that nobody opens. For safety culture and commercial vehicle procedures, official resources from recognized transport and workplace safety organizations are useful background, but the working checklist must still match the actual trailer and cargo.
Kingpin Area Inspection Table
| Check area | What to confirm | Why it matters |
|---|---|---|
| Kingpin | Wear, looseness, and visible damage | Protects tractor connection |
| Bolsters | Cracks and frame distortion | Maintains container support |
| Electrical line | Routing and strain near coupling | Reduces yard failures |
Keep records that help the next dispatch
Records are often treated as administration, but they are part of skeletal trailer kingpin inspection. A short note about tire condition, brake response, leak points, cargo contact marks, or loading delay can prevent a repeat problem. Photos are especially useful when the issue is visual, such as a bent bracket, cracked weld, worn deck edge, or contaminated connection point.
The record should show who checked the trailer, what was found, what was corrected, and whether the trailer was released for service. If the same defect appears repeatedly, the answer may not be another repair. It may be a better loading method, a stronger specification, or a different trailer assigned to that route.
Final takeaway
A practical skeletal trailer kingpin inspection routine is not a box-ticking exercise. It is a way to connect cargo, trailer design, route condition, and maintenance evidence before the job begins. The best routine gives the driver clear instructions, gives the workshop useful feedback, and gives the buyer better information for future specifications.
Before release, repeat the skeletal trailer kingpin inspection check in plain language: confirm the load, confirm the trailer, confirm the route, confirm the inspection record, and confirm who is responsible if a condition changes. That final skeletal trailer kingpin inspection review is the difference between a trailer that is merely available and a trailer that is genuinely ready for work.
Team leaders should keep skeletal trailer kingpin inspection language consistent across dispatch notes so drivers, buyers, and workshop staff describe the same check in the same way.
Team leaders should keep skeletal trailer kingpin inspection language consistent across dispatch notes so drivers, buyers, and workshop staff describe the same check in the same way.
Team leaders should keep skeletal trailer kingpin inspection language consistent across dispatch notes so drivers, buyers, and workshop staff describe the same check in the same way.
Team leaders should keep skeletal trailer kingpin inspection language consistent across dispatch notes so drivers, buyers, and workshop staff describe the same check in the same way.
Blog Categories
Contact Us
Latest News
-
Semi Trailer Trucks: How to Choose the Right One for Your Business
-
Rear Dump Trailer Stability Checklist Before Unloading Loose Material
-
Semi Trailer After-Sales Support Checklist for Importers
-
Semi Trailer Export Documentation Checklist for Overseas Buyers
-
Bulk Powder Tanker Air Line Inspection Before Dry Bulk Loading
-
Semi Trailer Frame Inspection Guide for Heavy-Duty Buyers
-
Semi Trailer Load Distribution Guide for Safer Heavy Cargo Transport
-
Semi Trailer Trucks: How to Choose the Right One for Your Business
-
Semi Trailer Brake Air Line Routing Guide for Fleet Reliability
-
Semi Trailer Maintenance Records Guide for Fleet Buyers
-

Yufei Awarded “SMEs with Specialty” Title, Benchmark Strength
-
Tanker Semi Trailer Cleaning Preparation Before Cargo Changeover
-
Dump Semi Trailer Hydraulic Cylinder Checks Before Site Work
-
Semi Trailer Suspension Selection Guide for Heavy Loads
-
Bulk Powder Tanker Air Compressor Matching Guide
-
Hazardous Transport: Yufei Tanker, Safe and Compliant
-
Flatbed Trailer Tie Down Point Inspection Before Industrial Loads
-
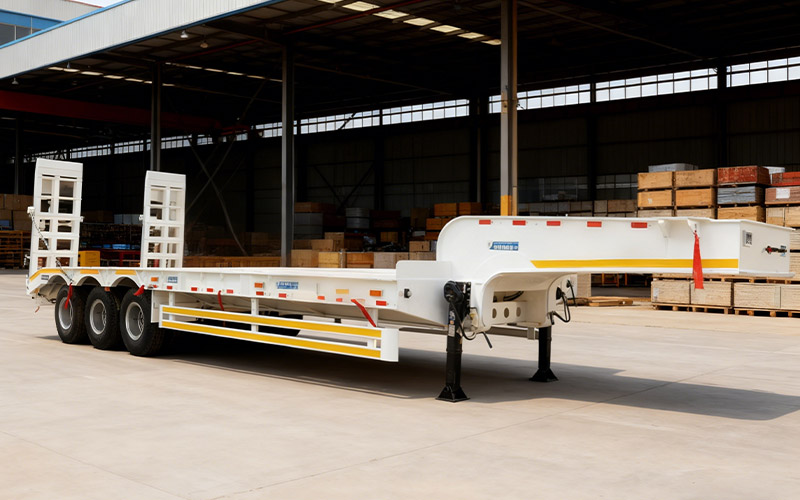
Semi Trailer Landing Gear Inspection Checklist for Safer Yard Operations
View our industry solutions
Or learn about other industry content
Skeletal trailer kingpin inspection helps container fleet maintenance teams decide whether a trailer, load plan, and dispatch process are ready before the vehicle leaves the yard. The practical answer is simple: check the cargo first, then match the trailer structure, route limits, driver routine, and maintenance record to that cargo. A good skeletal trailer kingpin inspection process reduces confusion, prevents avoidable rework, and gives the fleet a clear record for the next similar job.
This guide is written for buyers, dispatchers, workshop teams, and fleet managers working with container transport between ports, depots, and highway routes. It focuses on field decisions that can be checked without turning the article into a sales sheet. The goal is a skeletal trailer kingpin inspection method that is specific enough to use, but simple enough to repeat every time.
Table of Contents
Start with the load and operating route
The first step in skeletal trailer kingpin inspection is to describe the load honestly. Record the cargo shape, contact points, center of gravity, loading equipment, expected road condition, and unloading site. A trailer that looks suitable in the yard may become the wrong choice if the route includes soft ground, tight turns, steep ramps, low clearance, or long waiting time before unloading.
For container transport between ports, depots, and highway routes, the route review should include turning space, bridge or road limits where applicable, and the condition of the final unloading area. If the job involves mixed permits, port entry, or cross-border paperwork, keep the document review close to the dispatch plan. The container chassis inspection checklist can support that check without adding unnecessary paperwork.
Match the trailer specification to the job
A reliable skeletal trailer kingpin inspection review compares the skeletal semi trailer specification with real work conditions. Look beyond the headline payload. Check deck height or tank layout, suspension type, axle spread, coupling height, loading angle, sealing points, side protection, lighting, and tie-down or discharge hardware. These details decide whether the trailer is efficient in daily use, not just whether it can carry the load once.
When several trailer configurations look possible, compare them by risk and operating effort. Ask which option gives the driver better visibility, simpler loading, safer access for inspection, and easier cleaning or maintenance. Where axle loading matters, use the trailer axle configuration guide as a practical reference before finalizing the setup.
Use a short inspection sequence
The inspection sequence for skeletal trailer kingpin inspection should be short enough to complete under normal dispatch pressure. Start with the coupling, landing gear, tires, brakes, suspension, lights, air or hydraulic lines, and visible frame areas. Then inspect the parts that are unique to the trailer body: ramps, valves, hatches, curtains, side boards, discharge pipes, tailgate locks, or container locks.
Do not rely on memory when the fleet runs different trailer types. A one-page checklist is better than a long manual that nobody opens. For safety culture and commercial vehicle procedures, official resources from recognized transport and workplace safety organizations are useful background, but the working checklist must still match the actual trailer and cargo.
Kingpin Area Inspection Table
| Check area | What to confirm | Why it matters |
|---|---|---|
| Kingpin | Wear, looseness, and visible damage | Protects tractor connection |
| Bolsters | Cracks and frame distortion | Maintains container support |
| Electrical line | Routing and strain near coupling | Reduces yard failures |
Keep records that help the next dispatch
Records are often treated as administration, but they are part of skeletal trailer kingpin inspection. A short note about tire condition, brake response, leak points, cargo contact marks, or loading delay can prevent a repeat problem. Photos are especially useful when the issue is visual, such as a bent bracket, cracked weld, worn deck edge, or contaminated connection point.
The record should show who checked the trailer, what was found, what was corrected, and whether the trailer was released for service. If the same defect appears repeatedly, the answer may not be another repair. It may be a better loading method, a stronger specification, or a different trailer assigned to that route.
Final takeaway
A practical skeletal trailer kingpin inspection routine is not a box-ticking exercise. It is a way to connect cargo, trailer design, route condition, and maintenance evidence before the job begins. The best routine gives the driver clear instructions, gives the workshop useful feedback, and gives the buyer better information for future specifications.
Before release, repeat the skeletal trailer kingpin inspection check in plain language: confirm the load, confirm the trailer, confirm the route, confirm the inspection record, and confirm who is responsible if a condition changes. That final skeletal trailer kingpin inspection review is the difference between a trailer that is merely available and a trailer that is genuinely ready for work.
Team leaders should keep skeletal trailer kingpin inspection language consistent across dispatch notes so drivers, buyers, and workshop staff describe the same check in the same way.
Team leaders should keep skeletal trailer kingpin inspection language consistent across dispatch notes so drivers, buyers, and workshop staff describe the same check in the same way.
Team leaders should keep skeletal trailer kingpin inspection language consistent across dispatch notes so drivers, buyers, and workshop staff describe the same check in the same way.
Team leaders should keep skeletal trailer kingpin inspection language consistent across dispatch notes so drivers, buyers, and workshop staff describe the same check in the same way.
Blog Categories
Contact Us
Latest News
-
Hazardous Transport: Yufei Tanker, Safe and Compliant
-
Flatbed Trailer Tie Down Point Inspection Before Industrial Loads
-
Flatbed Trailer Loading Surface Guide for Machinery Buyers
-
Semi Trailer Export Documentation Checklist for Overseas Buyers
-
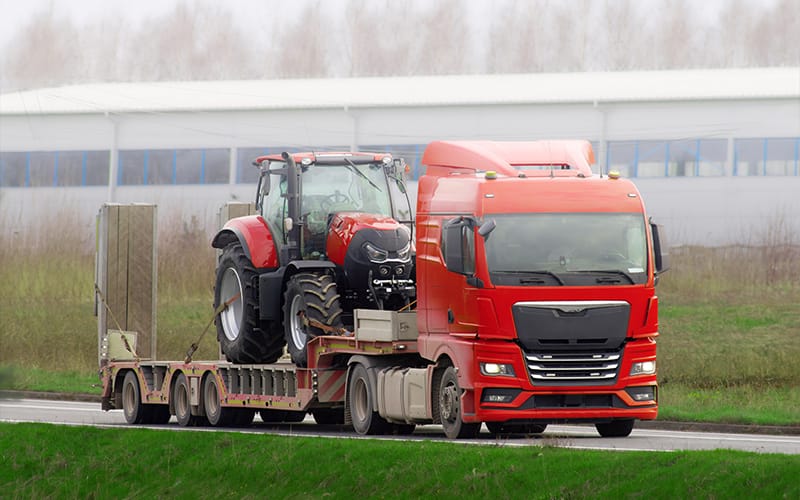
Heavy Loads Secured: Yufei Low-Deck Trailer
-
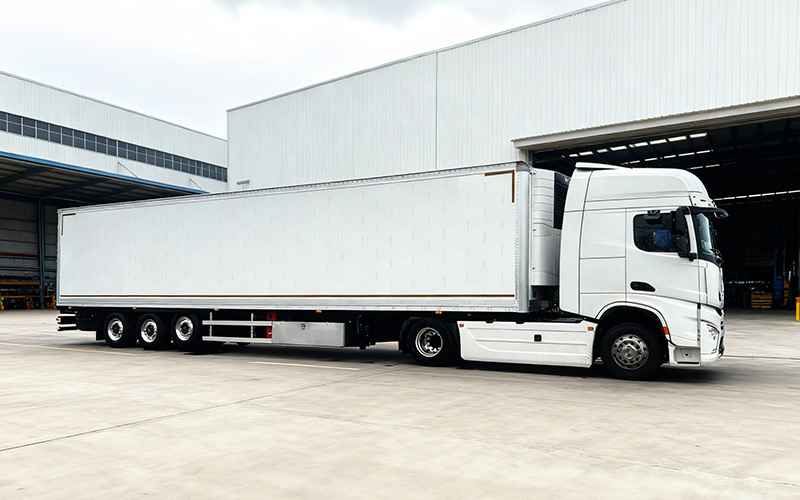
Driving Efficiency and Safety: Semi‑Trailers and Special Purpose Vehicles
-
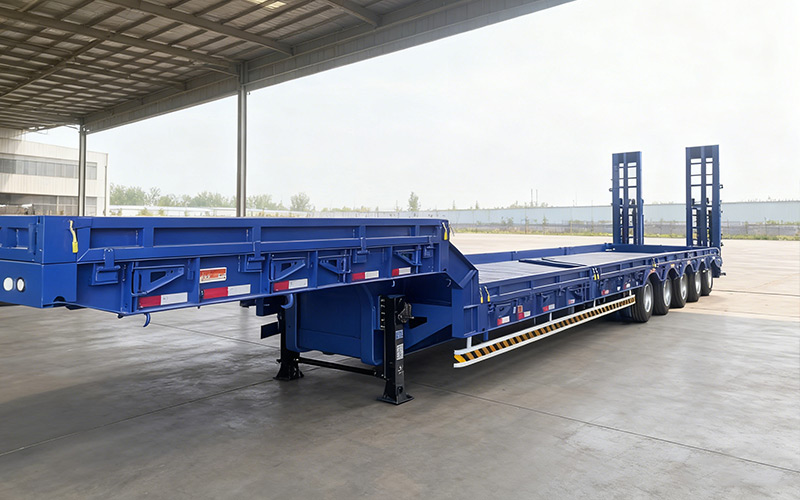
Lowboy Trailer Ramp Angle Planning for Construction Machinery
-
Tanker Semi Trailer Compartment Planning for Safer Liquid Cargo Dispatch
-
Flatbed Trailer Loading Checklist for Safer Heavy Equipment Transport
-
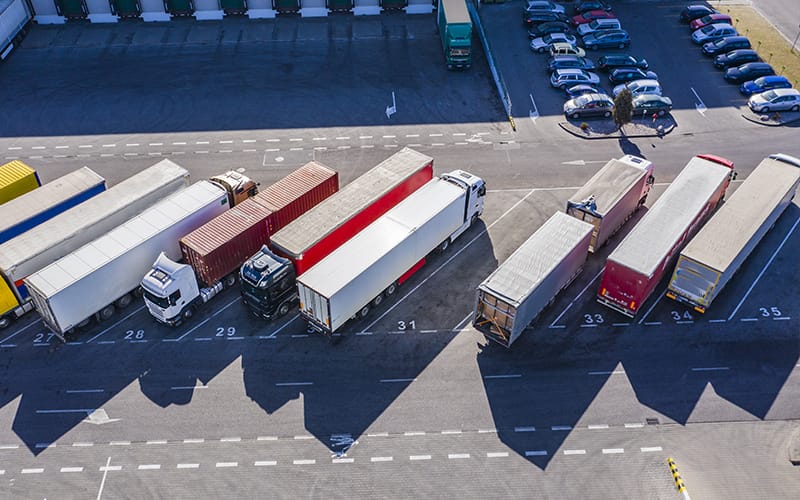
Yufei Customization: Reconstructing Transport Value
-
Semi Trailer Trucks: How to Choose the Right One for Your Business
-
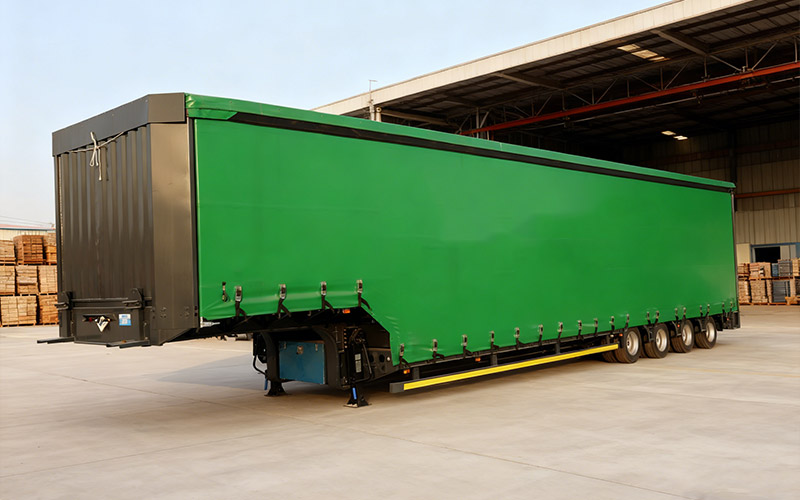
Side Curtain Trailer Loading Access Guide for Pallet Freight
-
Semi Trailer Brake Air Line Routing Guide for Fleet Reliability
-
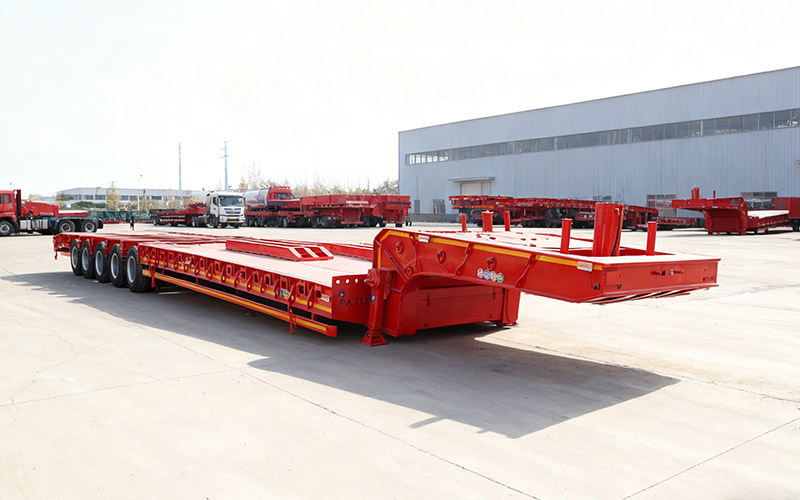
Lowbed Trailer Capacity: Complete Guide for Heavy Equipment Transport
-
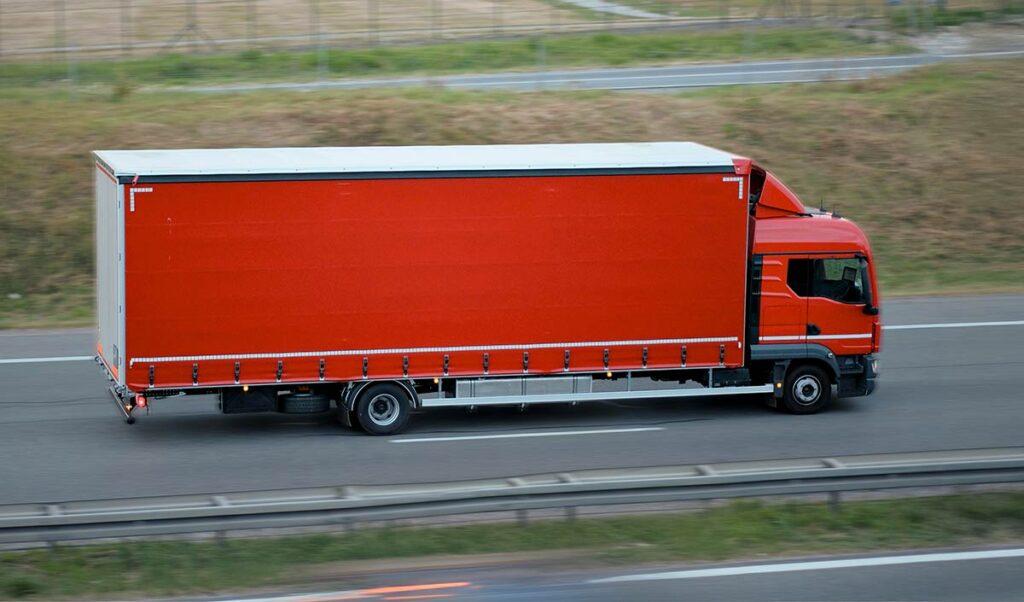
Long Cargo Transport Checklist for Steel, Pipe, and Precast Loads
View our industry solutions
Or learn about other industry content
Engineering Equipment Transportation:
Custom Trailers Provide Efficient Solutions
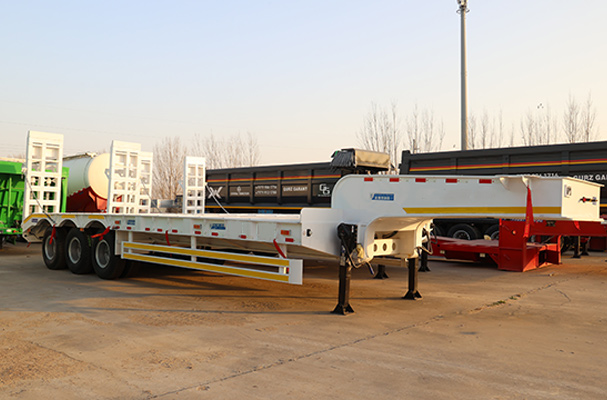
Yufei solves the pain points of engineering equipment transportation for a Henan equipment leasing company:
Customer Pain Points:
Insufficient carrying capacity for 35-ton excavators, delays due to poor turning capabilities on narrow construction site roads, and trailer delivery times exceeding 45 days.
Solution:
Customized 80-ton low-bed trailers with 1.2-meter cargo platforms and hydraulic steering, with flexible production lines for expedited delivery.
Hazardous Materials Transportation:
Class A Tank Trucks Enhance Safety and Increase Profits
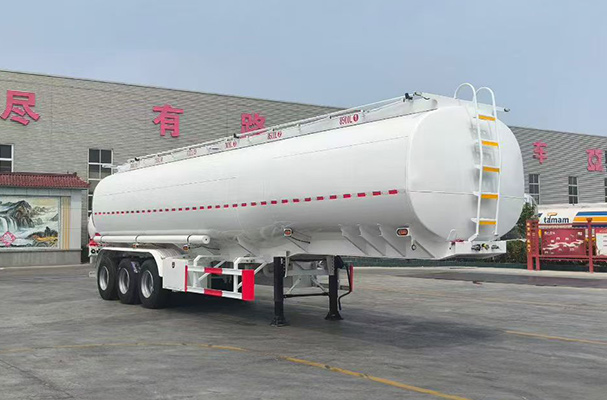
Yufei solved a core challenge for its logistics partner, Sinopec, in the transportation of hazardous materials:
Customer Pain Points:
Old tank trucks have significant leak risks, a 12-ton self-weight limits cargo capacity, and fuel consumption exceeds 35L.
Solution:
The Class A tanker has 304 stainless tank, triple safety devices and lightweight 0690 structure.
General Logistics:
Stake Trailer Solves Transportation Capacity Challenges
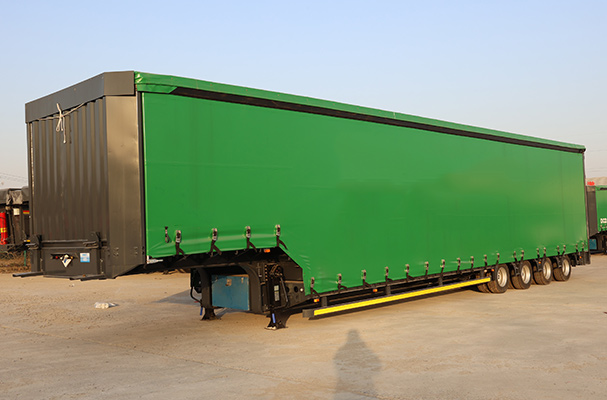
Yufei helps a Shandong logistics company overcome transportation pain points during peak e-commerce seasons:
Customer Pain Points:
Old trailers have slow loading and unloading times, limited capacity for bulky goods, fuel consumption exceeds 32L, and insufficient transportation capacity during peak seasons.
Solution:
Customizable foldable stake trailers, lightweight Q690 steel construction + hydraulic self-unloading.
[Customer Case Studies]
Yufei's customized solutions
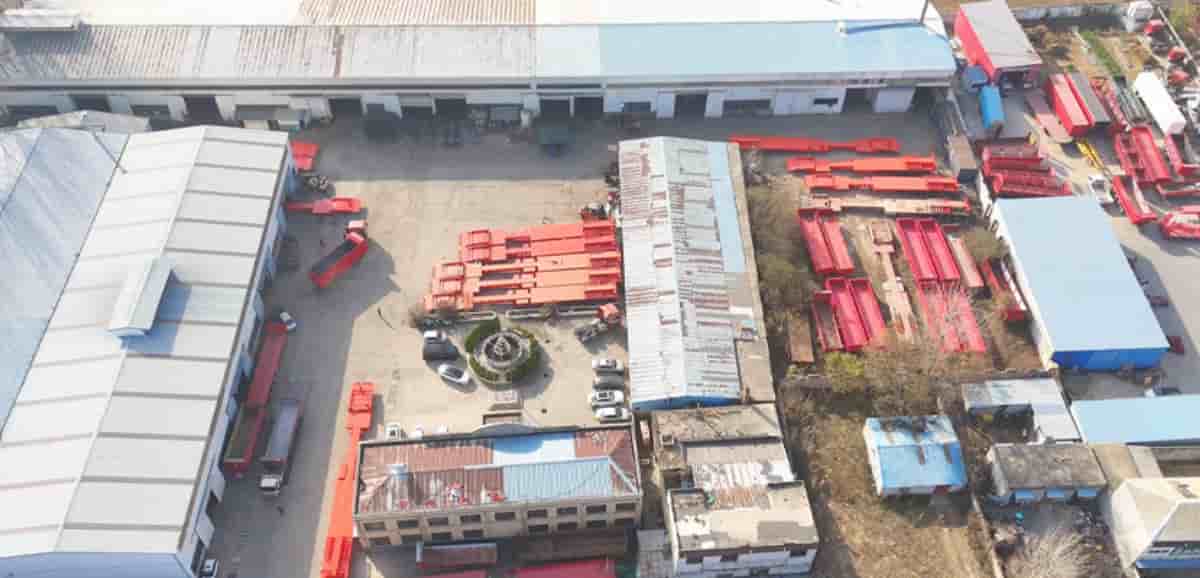
Based in Liangshan, Yufei has been specializing in special purpose/semi-trailers since 2008, with real-world service cases worldwide demonstrating its intelligent manufacturing capabilities.
[Customer Case Studies]
Yufei's customized solutions
Based in Liangshan, Yufei has been specializing in special purpose/semi-trailers since 2008, with real-world service cases worldwide demonstrating its intelligent manufacturing capabilities.
Engineering Equipment Transportation:
Custom Trailers Provide Efficient Solutions
Yufei solves the pain points of engineering equipment transportation for a Henan equipment leasing company:
Customer Pain Points:
Insufficient carrying capacity for 35-ton excavators, delays due to poor turning capabilities on narrow construction site roads, and trailer delivery times exceeding 45 days.
Solution:
Customized 80-ton low-bed trailers with 1.2-meter cargo platforms and hydraulic steering, with flexible production lines for expedited delivery.
Hazardous Materials Transportation:
Class A Tank Trucks Enhance Safety and Increase Profits
Yufei solved a core challenge for its logistics partner, Sinopec, in the transportation of hazardous materials:
Customer Pain Points:
Old tank trucks have significant leak risks, a 12-ton self-weight limits cargo capacity, and fuel consumption exceeds 35L.
Solution:
The Class A tanker has 304 stainless tank, triple safety devices and lightweight 0690 structure.
General Logistics:
Stake Trailer Solves Transportation Capacity Challenges
Yufei helps a Shandong logistics company overcome transportation pain points during peak e-commerce seasons:
Customer Pain Points:
Old trailers have slow loading and unloading times, limited capacity for bulky goods, fuel consumption exceeds 32L, and insufficient transportation capacity during peak seasons.
Solution:
Customizable foldable stake trailers, lightweight Q690 steel construction + hydraulic self-unloading.
[Core advantages]
Core Competitiveness
Driven by Intelligence & Service
Strong
R&D Team:
120-member team, 45% senior titles, leading tech

Intelligent
Manufacturing:
Robotic welding, 99%+ precision guarantee

Rapid
Customization:
Flexible lines for diverse needs, 7-day delivery

Strict
Quality Control:
Full-process control, ISO9001 certified

Comprehensive
After-sales:
24h response, lifelong operation support

Industrial
Cluster Adv:
Liangshan base, efficient supply chain
Lightweight
Tech Breakthrough:
Topology optimization, 18% weight reduction
Complete
Qualifications:
CCC certified, Class A for hazardous goods

[Contact us]
Ready to Find Your
Perfect Trailer Solution