Trailer Export Inspection Checklist for Overseas Buyers
Trailer Export Inspection Checklist for Overseas Buyers
Table of Contents
A practical trailer export inspection process gives transport teams a clear way to protect cargo, drivers, equipment, and delivery schedules. It is written for importers, dealers, and project buyers preparing trailers for overseas delivery. The goal is not to create paperwork for its own sake. The goal is to prevent unclear specification records, missed photos, weak packing checks, and handover disputes through checks that are easy to repeat before every dispatch.
Why This Checklist Matters
The value of trailer export inspection is strongest when the same process is used by drivers, maintenance staff, and dispatchers. A trailer may look ready from a distance, but a small fault can become expensive once the vehicle is loaded or far from the yard. A written checklist also helps new staff understand what experienced operators already look for during a walkaround.
For buyers comparing fleet requirements, this semi trailer documentation checklist provides useful context. It helps connect the specific trailer export inspection topic with the wider trailer selection and operation decisions that affect long-term reliability.
Start With the Operating Conditions
Before the inspection begins, define the route, cargo type, loading method, site conditions, and expected unloading sequence. A trailer export inspection plan for paved regional routes may differ from one used around ports, mines, construction roads, or cold-chain yards. Record the normal operating range first, then decide which checks must happen daily, weekly, or before a special trip.
A useful checklist should name the person responsible for each step. If one team inspects the trailer, another loads it, and a third team signs the delivery papers, gaps can appear between departments. Clear ownership keeps the process practical and makes it easier to trace decisions when a customer asks how the trailer was prepared.
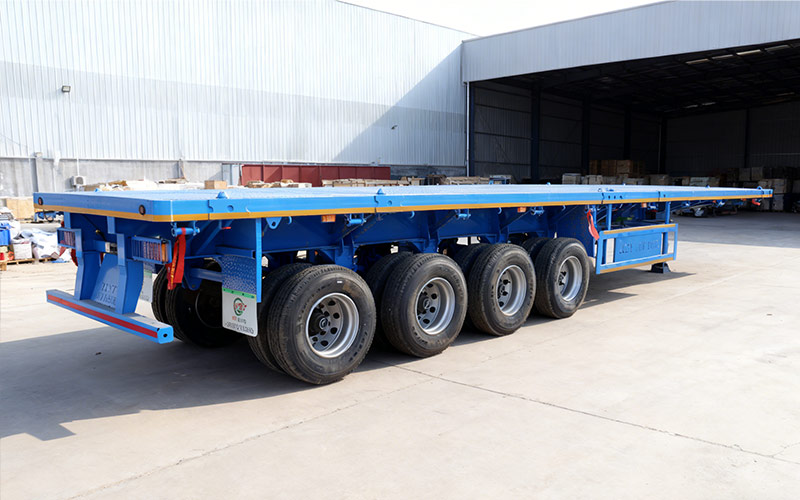
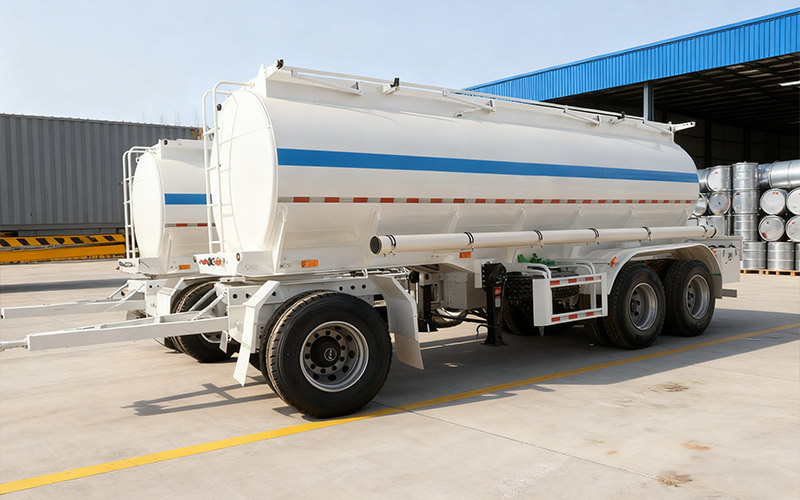
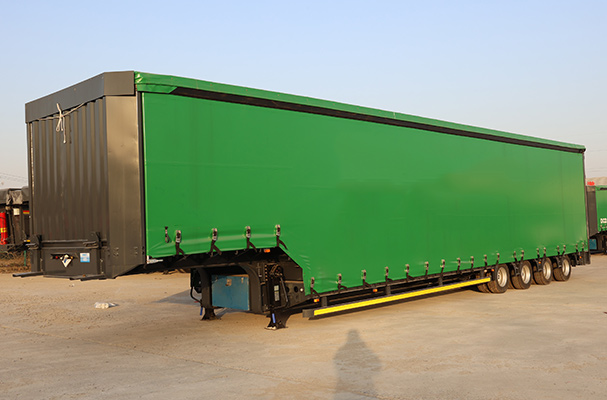
The inspection should also reflect the trailer design. Tankers, lowbeds, flatbeds, skeletal trailers, side curtain units, and dump trailers expose different risks. The best trailer export inspection procedure is specific enough to guide action, but simple enough that the team can complete it without delaying normal dispatch.
Inspect Components That Create Downtime
Focus on components that can stop a trip: tires, lights, brakes, suspension, locking points, valves, hoses, ramps, landing gear, seals, deck surfaces, and visible structural areas. Any trailer export inspection check should look for damage, contamination, loose fittings, abnormal movement, leaks, missing fasteners, and signs that a component has been overloaded or repaired poorly.
| Checkpoint | What to Confirm |
|---|---|
| Visual condition | Cracks, corrosion, leaks, loose parts, or abnormal wear |
| Functional test | Moving parts respond smoothly without unusual sound or delay |
| Cargo interface | Locks, deck, seals, valves, or restraint points match the cargo |
| Record keeping | Photos and notes are stored before release or handover |
Build the Loading and Handover Routine
A strong trailer export inspection routine should not end at inspection. It should connect directly with loading, restraint, route confirmation, and handover. The driver should know who approved the load, what was checked, what limits apply, and when the first recheck must happen. If the cargo or route changes, the checklist should be reviewed instead of reused automatically.
This is where internal coordination matters. Sales teams may focus on specification, yard teams may focus on loading, and drivers may focus on road behavior. A reliable trailer export inspection process connects those views into one practical standard. For related operating decisions, review this lowbed trailer manufacturer guide.
Common Mistakes to Avoid
One mistake is treating trailer export inspection as a quick visual glance instead of a repeatable process. Another is copying a checklist from a different trailer type without adapting it to the cargo. Teams should also avoid vague notes such as checked when a photo or specific measurement would make the record more useful later.
Avoid building a checklist that is too long for real operations. The most effective version focuses on high-risk items first, then adds notes for unusual cargo or routes. If the list becomes difficult to use, drivers may rush through it and the company loses the benefit of having a documented process.
External references can support training. For background, see bill of lading overview. Local laws, road rules, and customer contracts still need to be checked because requirements vary by market and cargo type.
Final Dispatch Review
Before release, the supervisor and driver should confirm that the trailer export inspection record is complete, the cargo plan is understood, and no unresolved defect remains. If a defect is found, the decision should be documented: repair, replace, monitor, or remove the trailer from service. A clean trailer export inspection record gives the fleet a stronger starting point for safe, predictable transport.
The final trailer export inspection review should be short, specific, and signed off before the trailer leaves the yard. Repeating the trailer export inspection routine on every similar load gives the driver confidence and gives the fleet a traceable record if operating conditions change on the route.
Blog Categories
Contact Us
Latest News
-
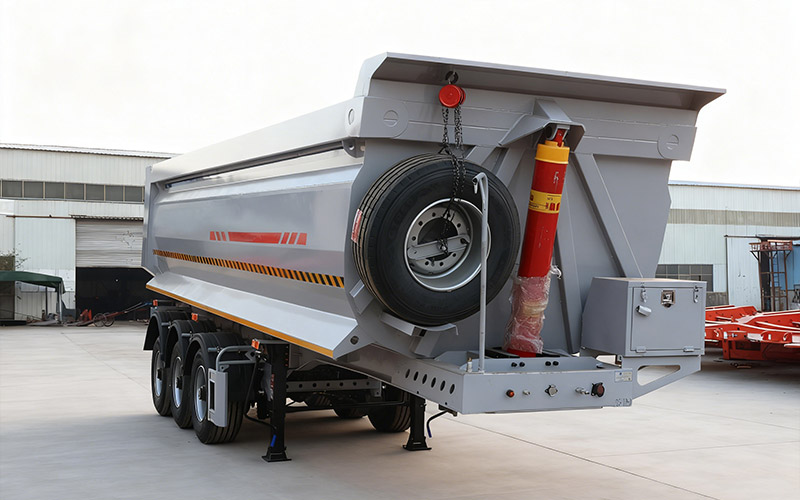
Rear Dump Trailer Stability Checklist Before Unloading Loose Material
-
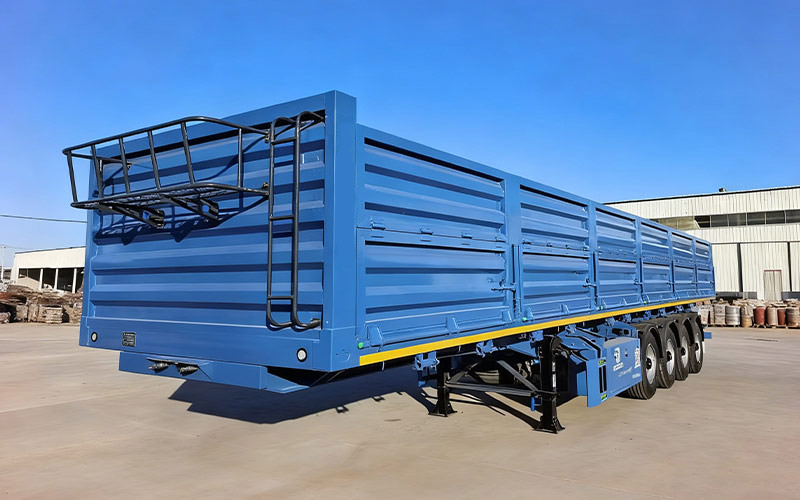
How to Choose a Reliable Semi Trailer Manufacturer for Your Business
-
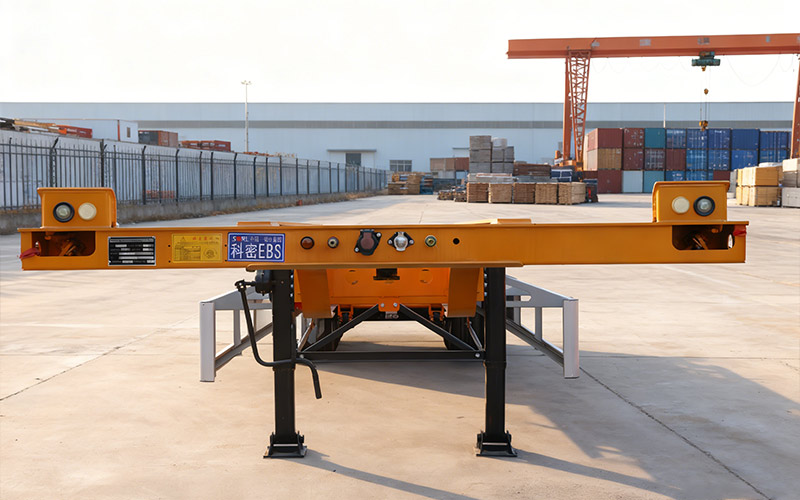
Skeletal Trailer Kingpin Area Inspection for Container Fleets
-
Duplicate Draft – Special Purpose Trailer Maintenance Schedule
-
Semi Trailer Coupling Height Guide for Safer Tractor Matching
-
Container Chassis Twist Lock Inspection Guide for Port Fleets
-
Yufei Customization: Reconstructing Transport Value
-
Container Chassis Selection Guide for Port and Inland Freight
-
Tanker Semi Trailer Cleaning Preparation Before Cargo Changeover
-
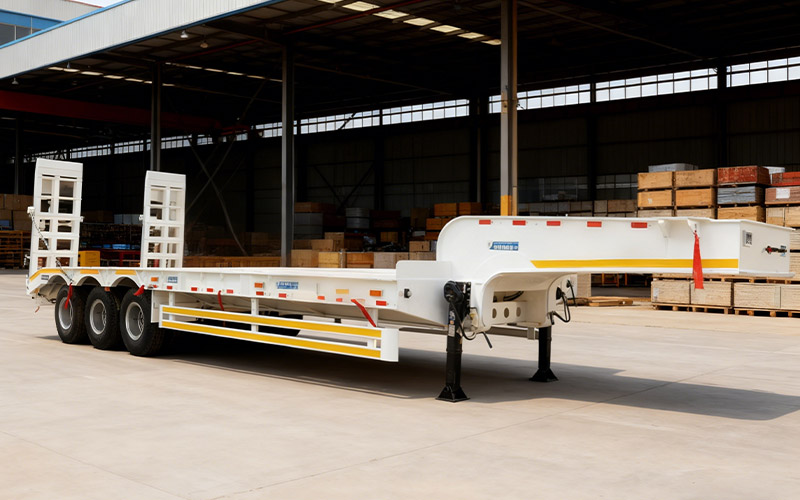
Lowbed Trailer Applications for Heavy Equipment Transport
-
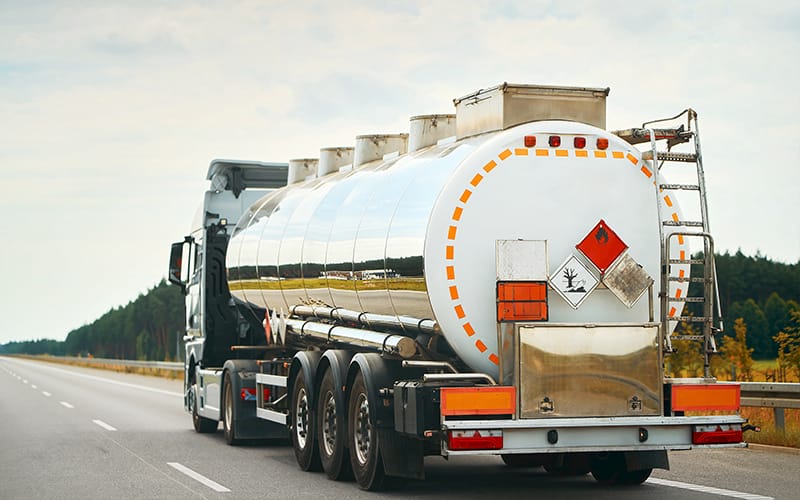
Hazardous Transport: Yufei Tanker, Safe and Compliant
-
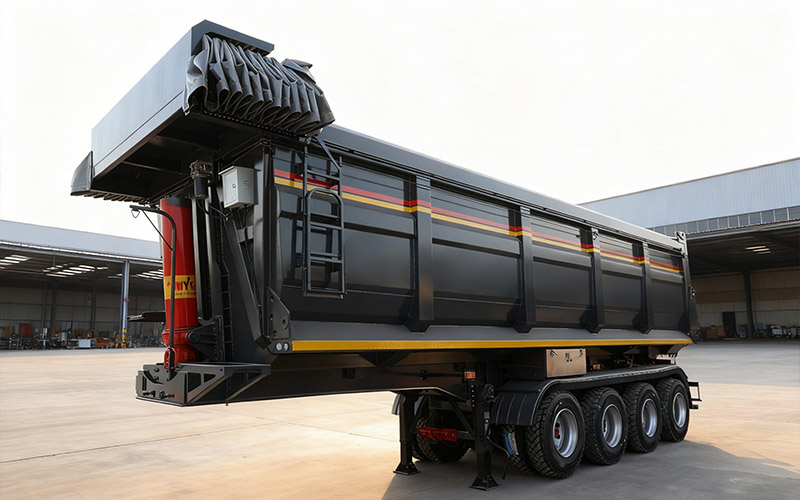
Semi Trailer After-Sales Support Checklist for Importers
-
Tanker Semi Trailer Compartment Planning for Safer Liquid Cargo Dispatch
-
Semi Trailer Frame Inspection Guide for Heavy-Duty Buyers
-
Semi Trailer Trucks: How to Choose the Right One for Your Business
-
Semi Trailer Trucks: How to Choose the Right One for Your Business
-
Lowbed Trailer vs Multi Axle Trailer: Which One Should You Choose
-
Flatbed Trailer Loading Surface Guide for Machinery Buyers
-
Refrigerated Semi Trailer Door Seal Inspection for Cold Chain Loads
View our industry solutions
Or learn about other industry content
Table of Contents
A practical trailer export inspection process gives transport teams a clear way to protect cargo, drivers, equipment, and delivery schedules. It is written for importers, dealers, and project buyers preparing trailers for overseas delivery. The goal is not to create paperwork for its own sake. The goal is to prevent unclear specification records, missed photos, weak packing checks, and handover disputes through checks that are easy to repeat before every dispatch.
Why This Checklist Matters
The value of trailer export inspection is strongest when the same process is used by drivers, maintenance staff, and dispatchers. A trailer may look ready from a distance, but a small fault can become expensive once the vehicle is loaded or far from the yard. A written checklist also helps new staff understand what experienced operators already look for during a walkaround.
For buyers comparing fleet requirements, this semi trailer documentation checklist provides useful context. It helps connect the specific trailer export inspection topic with the wider trailer selection and operation decisions that affect long-term reliability.
Start With the Operating Conditions
Before the inspection begins, define the route, cargo type, loading method, site conditions, and expected unloading sequence. A trailer export inspection plan for paved regional routes may differ from one used around ports, mines, construction roads, or cold-chain yards. Record the normal operating range first, then decide which checks must happen daily, weekly, or before a special trip.
A useful checklist should name the person responsible for each step. If one team inspects the trailer, another loads it, and a third team signs the delivery papers, gaps can appear between departments. Clear ownership keeps the process practical and makes it easier to trace decisions when a customer asks how the trailer was prepared.
The inspection should also reflect the trailer design. Tankers, lowbeds, flatbeds, skeletal trailers, side curtain units, and dump trailers expose different risks. The best trailer export inspection procedure is specific enough to guide action, but simple enough that the team can complete it without delaying normal dispatch.
Inspect Components That Create Downtime
Focus on components that can stop a trip: tires, lights, brakes, suspension, locking points, valves, hoses, ramps, landing gear, seals, deck surfaces, and visible structural areas. Any trailer export inspection check should look for damage, contamination, loose fittings, abnormal movement, leaks, missing fasteners, and signs that a component has been overloaded or repaired poorly.
| Checkpoint | What to Confirm |
|---|---|
| Visual condition | Cracks, corrosion, leaks, loose parts, or abnormal wear |
| Functional test | Moving parts respond smoothly without unusual sound or delay |
| Cargo interface | Locks, deck, seals, valves, or restraint points match the cargo |
| Record keeping | Photos and notes are stored before release or handover |
Build the Loading and Handover Routine
A strong trailer export inspection routine should not end at inspection. It should connect directly with loading, restraint, route confirmation, and handover. The driver should know who approved the load, what was checked, what limits apply, and when the first recheck must happen. If the cargo or route changes, the checklist should be reviewed instead of reused automatically.
This is where internal coordination matters. Sales teams may focus on specification, yard teams may focus on loading, and drivers may focus on road behavior. A reliable trailer export inspection process connects those views into one practical standard. For related operating decisions, review this lowbed trailer manufacturer guide.
Common Mistakes to Avoid
One mistake is treating trailer export inspection as a quick visual glance instead of a repeatable process. Another is copying a checklist from a different trailer type without adapting it to the cargo. Teams should also avoid vague notes such as checked when a photo or specific measurement would make the record more useful later.
Avoid building a checklist that is too long for real operations. The most effective version focuses on high-risk items first, then adds notes for unusual cargo or routes. If the list becomes difficult to use, drivers may rush through it and the company loses the benefit of having a documented process.
External references can support training. For background, see bill of lading overview. Local laws, road rules, and customer contracts still need to be checked because requirements vary by market and cargo type.
Final Dispatch Review
Before release, the supervisor and driver should confirm that the trailer export inspection record is complete, the cargo plan is understood, and no unresolved defect remains. If a defect is found, the decision should be documented: repair, replace, monitor, or remove the trailer from service. A clean trailer export inspection record gives the fleet a stronger starting point for safe, predictable transport.
The final trailer export inspection review should be short, specific, and signed off before the trailer leaves the yard. Repeating the trailer export inspection routine on every similar load gives the driver confidence and gives the fleet a traceable record if operating conditions change on the route.
Blog Categories
Contact Us
Latest News
-
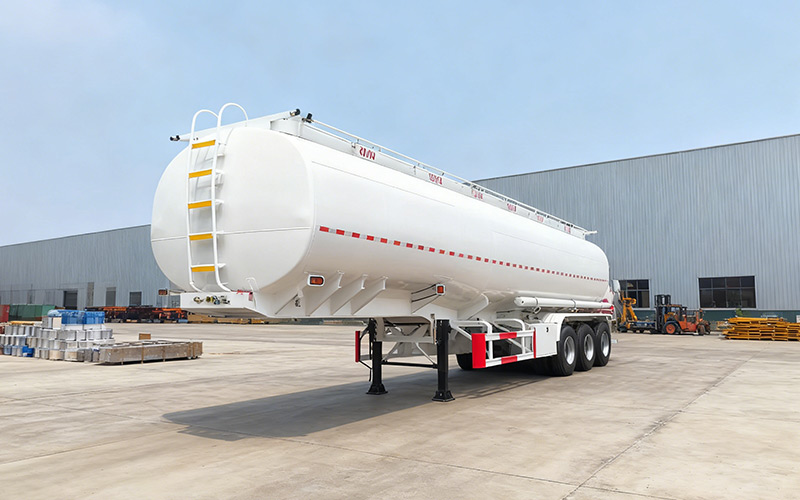
Customized Semi Trailer Solutions & Special Purpose Vehicles for Modern Transportation
-
Semi Trailer Trucks: How to Choose the Right One for Your Business
-
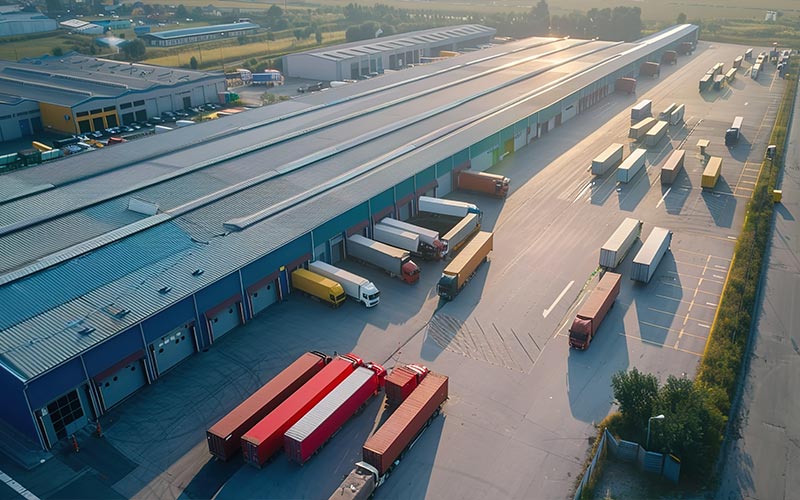
Yufei Cooperates with Logistics Group to Build Transport Ecosystem
-
Semi Trailer Shipping Protection Guide for Overseas Buyers
-
Semi Trailer Maintenance Records Guide for Fleet Buyers
-
Semi Trailer Import Checklist for Overseas Fleet Buyers
-
Semi Trailer Trucks: How to Choose the Right One for Your Business
-
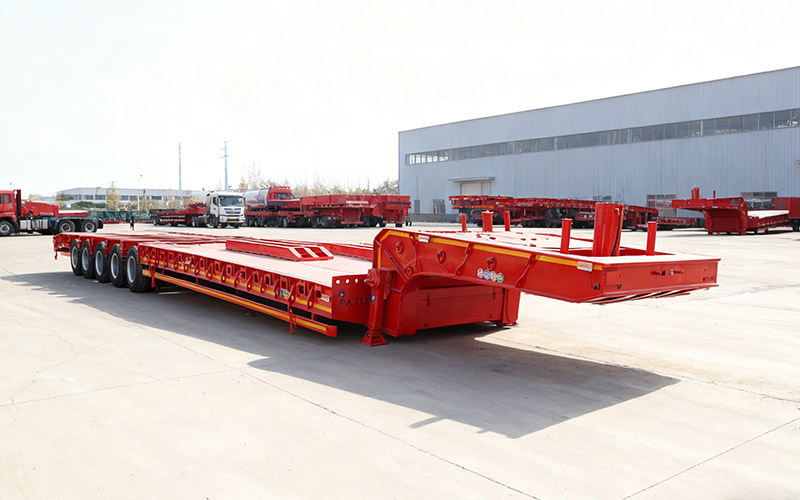
Lowbed Trailer Neck Design Guide for Equipment Transport
-
Semi Trailer Export Documentation Checklist for Overseas Buyers
-
Semi Trailer Load Distribution Guide for Safer Heavy Cargo Transport
-
Yufei Customization: Reconstructing Transport Value
-
Semi Trailer Frame Inspection Guide for Heavy-Duty Buyers
-
Refrigerated Semi Trailer Loading Checklist for Cold Chain Dispatch
-
Refrigerated Trailer Dimensions: Pallets, Doors and Airflow
-
Lowbed Trailer Route Survey Checklist for Heavy Equipment Moves
-
Container Chassis Twist Lock Inspection Guide for Port Fleets
-
Lowbed Trailer Manufacturer: How to Choose the Right Partner for Heavy Equipment Transport
-
Lowbed Trailer vs Multi Axle Trailer: Which One Should You Choose
View our industry solutions
Or learn about other industry content
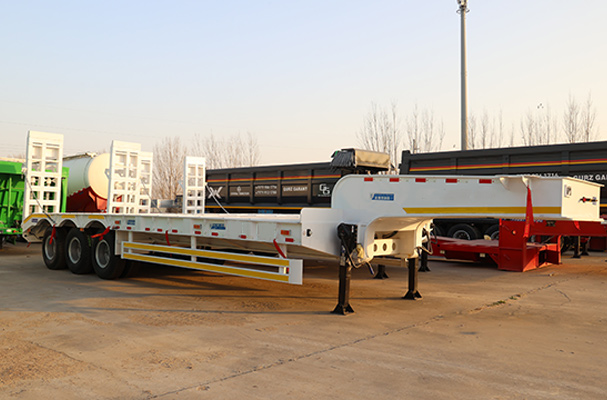
Engineering Equipment Transportation:
Custom Trailers Provide Efficient Solutions
Yufei solves the pain points of engineering equipment transportation for a Henan equipment leasing company:
Customer Pain Points:
Insufficient carrying capacity for 35-ton excavators, delays due to poor turning capabilities on narrow construction site roads, and trailer delivery times exceeding 45 days.
Solution:
Customized 80-ton low-bed trailers with 1.2-meter cargo platforms and hydraulic steering, with flexible production lines for expedited delivery.
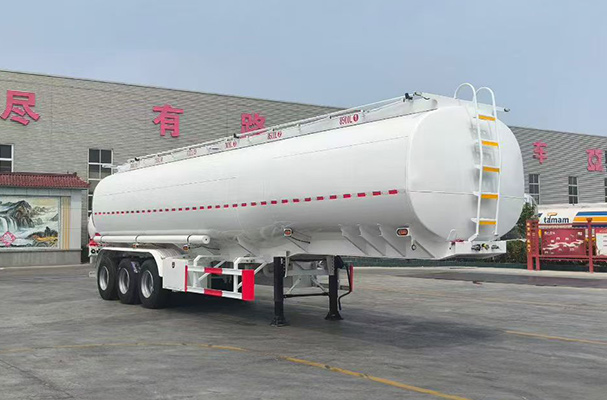
Hazardous Materials Transportation:
Class A Tank Trucks Enhance Safety and Increase Profits
Yufei solved a core challenge for its logistics partner, Sinopec, in the transportation of hazardous materials:
Customer Pain Points:
Old tank trucks have significant leak risks, a 12-ton self-weight limits cargo capacity, and fuel consumption exceeds 35L.
Solution:
The Class A tanker has 304 stainless tank, triple safety devices and lightweight 0690 structure.
General Logistics:
Stake Trailer Solves Transportation Capacity Challenges
Yufei helps a Shandong logistics company overcome transportation pain points during peak e-commerce seasons:
Customer Pain Points:
Old trailers have slow loading and unloading times, limited capacity for bulky goods, fuel consumption exceeds 32L, and insufficient transportation capacity during peak seasons.
Solution:
Customizable foldable stake trailers, lightweight Q690 steel construction + hydraulic self-unloading.
[Customer Case Studies]
Yufei's customized solutions
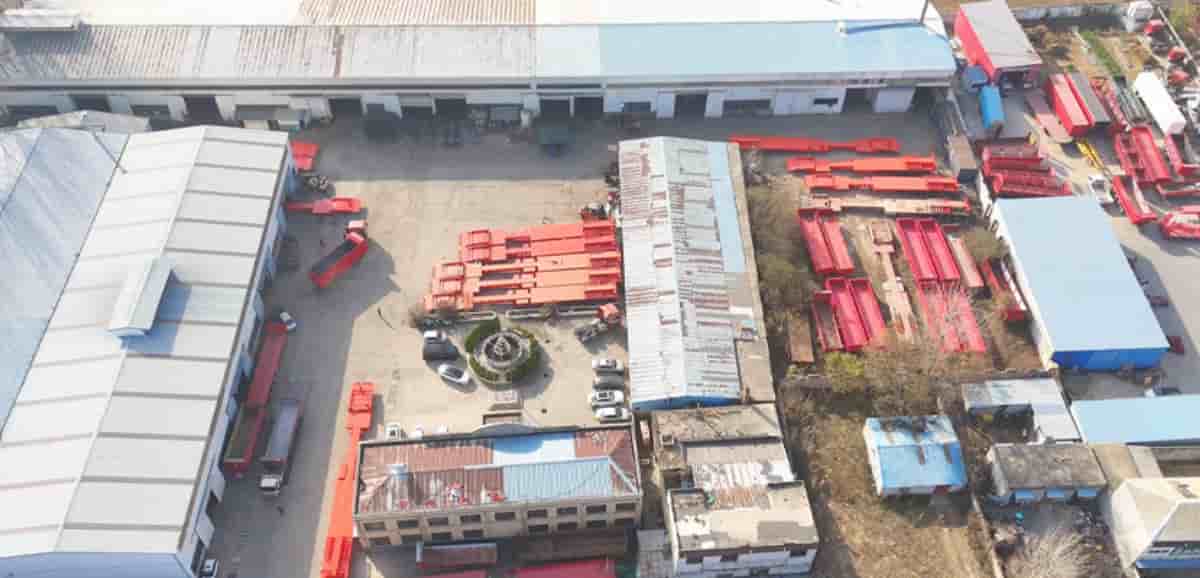
Based in Liangshan, Yufei has been specializing in special purpose/semi-trailers since 2008, with real-world service cases worldwide demonstrating its intelligent manufacturing capabilities.
[Customer Case Studies]
Yufei's customized solutions
Based in Liangshan, Yufei has been specializing in special purpose/semi-trailers since 2008, with real-world service cases worldwide demonstrating its intelligent manufacturing capabilities.
Engineering Equipment Transportation:
Custom Trailers Provide Efficient Solutions
Yufei solves the pain points of engineering equipment transportation for a Henan equipment leasing company:
Customer Pain Points:
Insufficient carrying capacity for 35-ton excavators, delays due to poor turning capabilities on narrow construction site roads, and trailer delivery times exceeding 45 days.
Solution:
Customized 80-ton low-bed trailers with 1.2-meter cargo platforms and hydraulic steering, with flexible production lines for expedited delivery.
Hazardous Materials Transportation:
Class A Tank Trucks Enhance Safety and Increase Profits
Yufei solved a core challenge for its logistics partner, Sinopec, in the transportation of hazardous materials:
Customer Pain Points:
Old tank trucks have significant leak risks, a 12-ton self-weight limits cargo capacity, and fuel consumption exceeds 35L.
Solution:
The Class A tanker has 304 stainless tank, triple safety devices and lightweight 0690 structure.
General Logistics:
Stake Trailer Solves Transportation Capacity Challenges
Yufei helps a Shandong logistics company overcome transportation pain points during peak e-commerce seasons:
Customer Pain Points:
Old trailers have slow loading and unloading times, limited capacity for bulky goods, fuel consumption exceeds 32L, and insufficient transportation capacity during peak seasons.
Solution:
Customizable foldable stake trailers, lightweight Q690 steel construction + hydraulic self-unloading.
[Core advantages]
Core Competitiveness
Driven by Intelligence & Service
Strong
R&D Team:
120-member team, 45% senior titles, leading tech

Intelligent
Manufacturing:
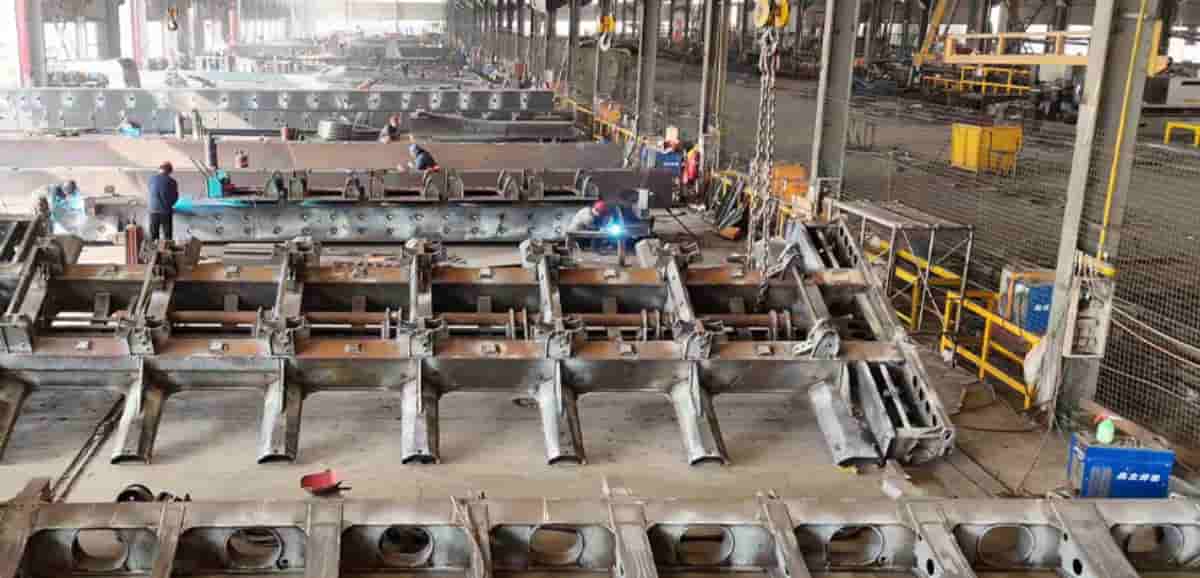
Robotic welding, 99%+ precision guarantee

Rapid
Customization:
Flexible lines for diverse needs, 7-day delivery

Strict
Quality Control:
Full-process control, ISO9001 certified

Comprehensive
After-sales:
24h response, lifelong operation support

Industrial
Cluster Adv:
Liangshan base, efficient supply chain
Lightweight
Tech Breakthrough:
Topology optimization, 18% weight reduction
Complete
Qualifications:
CCC certified, Class A for hazardous goods

[Contact us]
Ready to Find Your
Perfect Trailer Solution